Clay Pot Santa Claus
Materials:
- 1 small clay pot
- 1 red pipe cleaner
- 1 silver pipe cleaner
- white felt
- red felt
- black felt
- 1 small red pom-pom
- 1 small white pom-pom
- red acrylic paint
- peach acrylic paint
- sponge paint brush
- black sharpie
- hot glue gun
- 1 wood knob
Instructions:
I started by purchasing all of the supplies listed above. Scrap felt pieces work great for this project because it doesn't take very much felt to make.
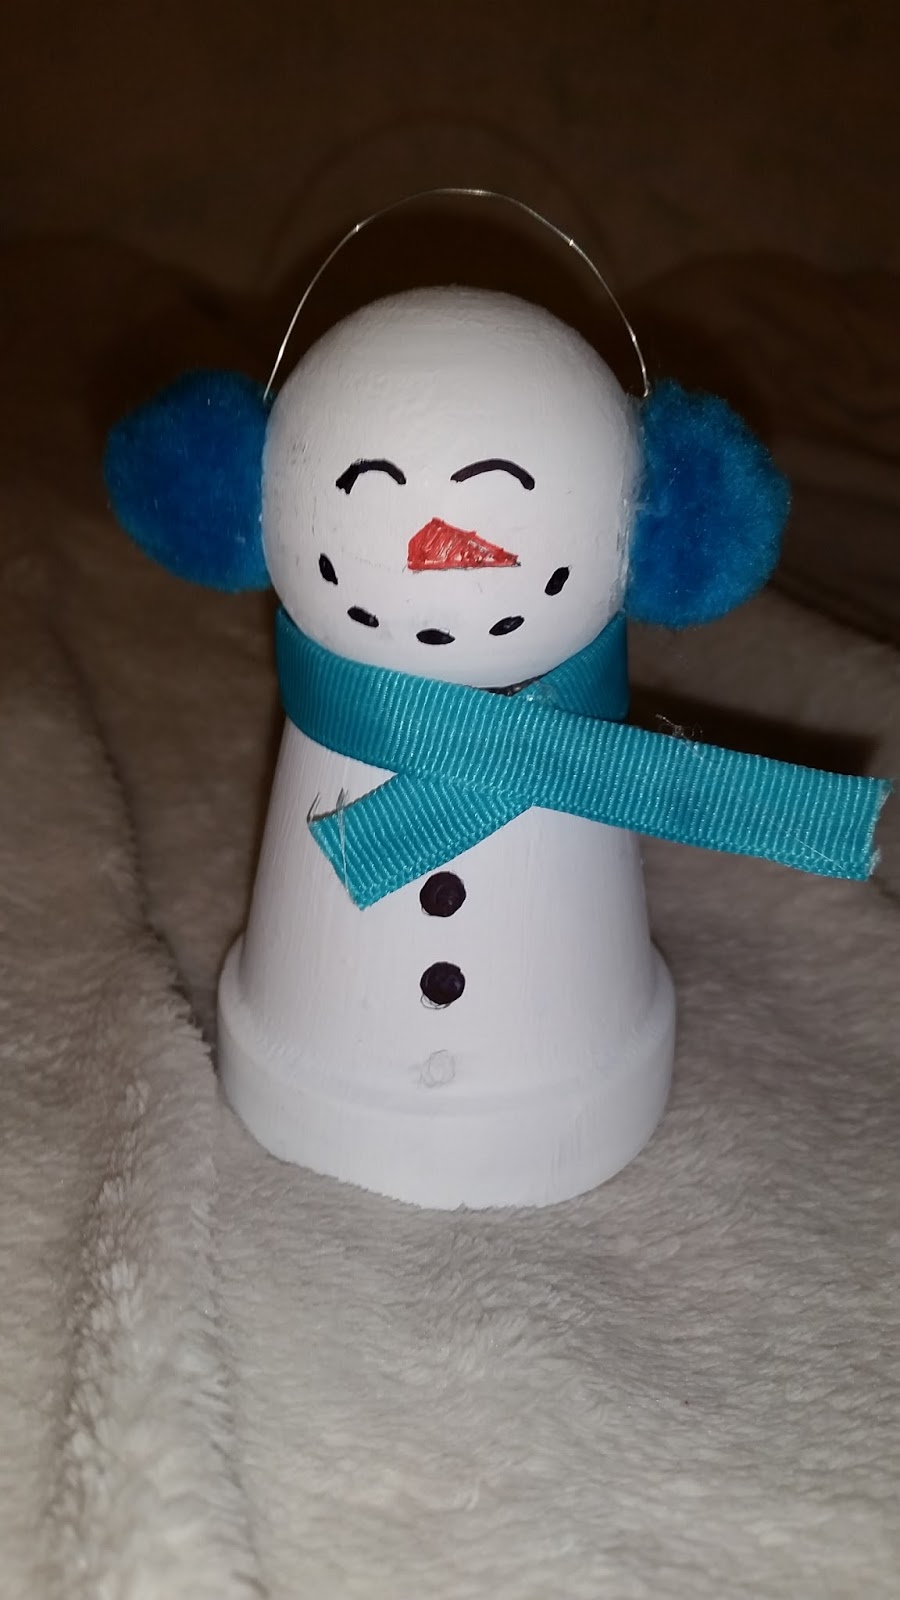
1. I first was able to purchase the round wood ball for the head at Hobby Lobby in the wood section. The knobs have a flat side to them and it makes it really easy to attach it to a clay pot. They come in a pack of four, which works great if you want to make more characters. I made a Mrs. Clause, snowman, and reindeer as well. You can check those out on my Pinterest page or my blog.
2. I purchased the small clay pot at Dollar Tree. They also have small ones at most craft stores (Hobby Lobby, Joann's, etc.). The key is to make sure that the bottom of the pot will fit the flat part of the wood knob.
3. The wood had a little bit too much wood design in it, so I started by painting the wood knob with a light peach acrylic paint. You can choose whatever paint color you want to get his complexion how you would like. After painting the knob, I painted the clay pot with red acrylic paint.
4. Once the paint dried, I took the clay pot and placed it upside down. I then took the red pipe cleaner and glued it across the top of the clay pot. If you use a smaller amount of glue, it will be easier to glue on the head. Once the pipe cleaner is in place, you can cut down the sides, if needed. I also rolled up the ends so that they looked more like hands.
5. Next I hot glued the wood knob on top of the clay pot.
6. I cut out a strip of felt to go around the bottom rim of the clay pot. You may want to measure the width so that the felt strip fits correctly. I hot glued that piece onto the pot, placing the seam in the back. Then I cut out a strip of white to go horizontally down the middle of the front of the clay pot as you can see in the picture.
7. Next I free handed a mustache and beard for the front of Santa. I started by drawing out a design on paper and sizing it to him. Once you have a design that you like, you can trace the pattern onto the white felt. Once again, I used hot glue to attach the mustache and beard.
8. For the nose, I used a small red pom-pom and just cut the puffiness down with scissors so that it was a smaller, more defined nose. Then, I hot glued the nose onto the mustache.
9. Next I cut a strip of black felt and glued that around his middle for the belt. I found a sliver pipe cleaner to make a buckle out of and hot glued that in place as well.
10. The hat was the most difficult part of the whole project. I started by fitting a strip of white felt to the spot on his head where I wanted the hat to sit. I wanted the hat to be able to come off, so once it was sized, I took the felt off his head and glued it together to make a loop. For the red part of his hat, I used paper to free-hand a design. I kept cutting it out and fitting it to the white loop to make the correct shape of a Santa hat. I wanted the tip to come together enough that I could glue the white pom-pom on the end. After a little trial and error, I was able to come up with a design that worked. I cut out the pattern out of the red felt and hot glued it together into the white loop. It may require a lot of modifying and fitting to his head. Thankfully, it didn't take too long for me to figure out. Once it was sitting correctly on his head, I took the white pom-pom and glued it onto the tip. If you want his hat to be able to stay on, you can just put a few dots of hot glue on the sides of his head and tag it in place.
11. The final step was to draw the eyes onto his face. I just used a black Sharpie to do my eyes. I very lightly drew them with pencil first and then traced it with the Sharpie.
Thank you so much for checking out this project! It was a really fun one to make! If you liked this project, you can check out my other Christmas clay pot characters. I also make clay pot characters for most other holidays, so check out my blog to see many others!